Project 4 Advanced Lane Lines
Term 1 Project 4 Udacity Self Driving Car Nanodegree
Project 4 is the follow up to Project 1 . Finding lane lines is taken to a higher level in this advanced lane line project. Adjustments are made for camera calibration, multiple color schemes are used and sliding windows method to find and draw lane lines. Also included is a measure of the curve in the road and the distance of the car from the center of the lane.

Calibration means adjusting the image output to correct for distortions that occur from the camera lens. It is difficult for a camera of any type to give a perfect image under all circumstances and usually some kind of distortion is present. In these above image on the left we can clearly see horizontal lines are distorted. We can adjust the image into an undistributed form shown on the right. Calibration involves taking many images of a printout of a checker board and using a special program to work out the distortion, then computer is taught to correct for the distortion.

Many different colour schemes were experimented with including the well known Red, Green, Blue scheme where colours are represented by their component colours. This is done to see if any colour channels can detect lane lines any better. Sometimes different colour component channels are better in lighter or darker areas. Here the red channel is detecting up the line the best

Using various color schemes we can pick out useful detail and then convert it to a sharp black and white image using a threshold value. This means if a value is above a certain point like a shade of gray it is then boosted to maximum to give a sharp black and white image. From these sharp images we can more easily extract the lane lines.

Masking of selecting a Region Of Interest (ROI) was also used , similar to project 1. This greatly reduced false detections for high contrast markings near the side of the lane.
Below you can see how I displayed each step of the process to understand what was going wrong. For the most part things went well but certain difficult areas the results were very poor. For these areas I made subclips from the whole movie of a couple of seconds and then displayed various steps to try to understand which step was causing the problem. Sometimes it was the ROI or the threshold values or the sliding windows not picking up lines that had been filtered out successfully up until that point.
By using these methods eventually the program was refined until it was good enough to pass
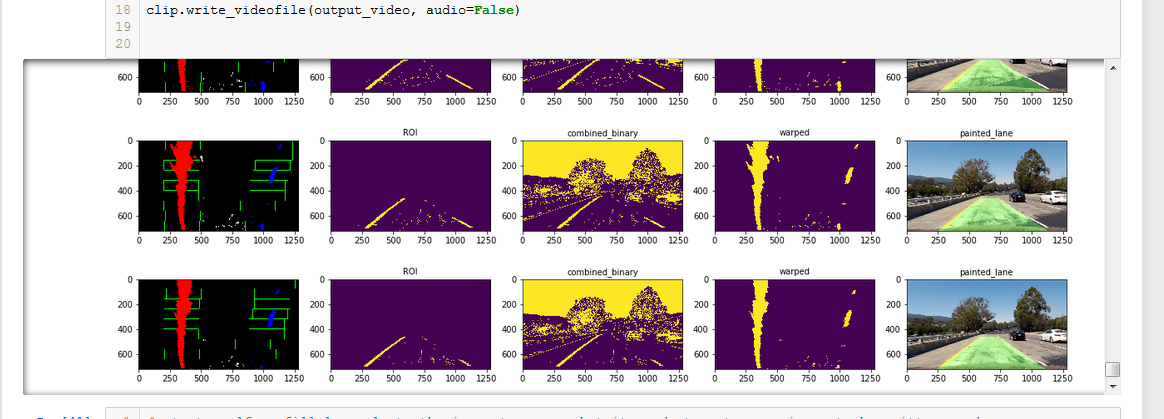
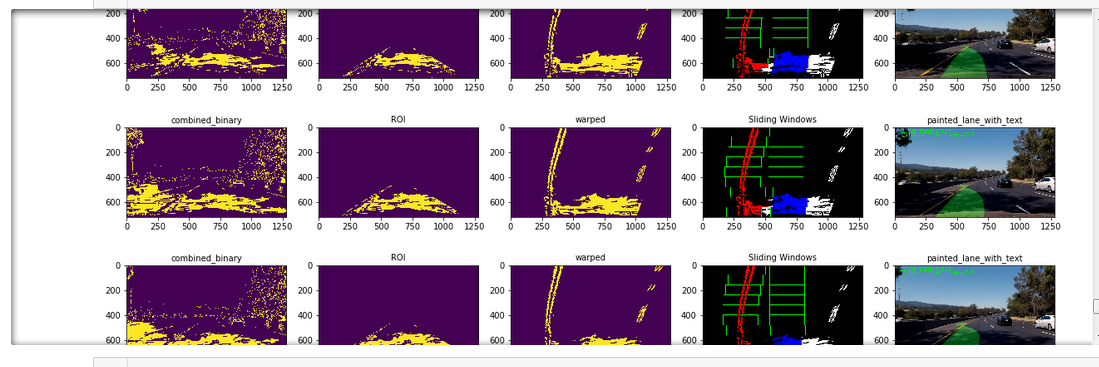
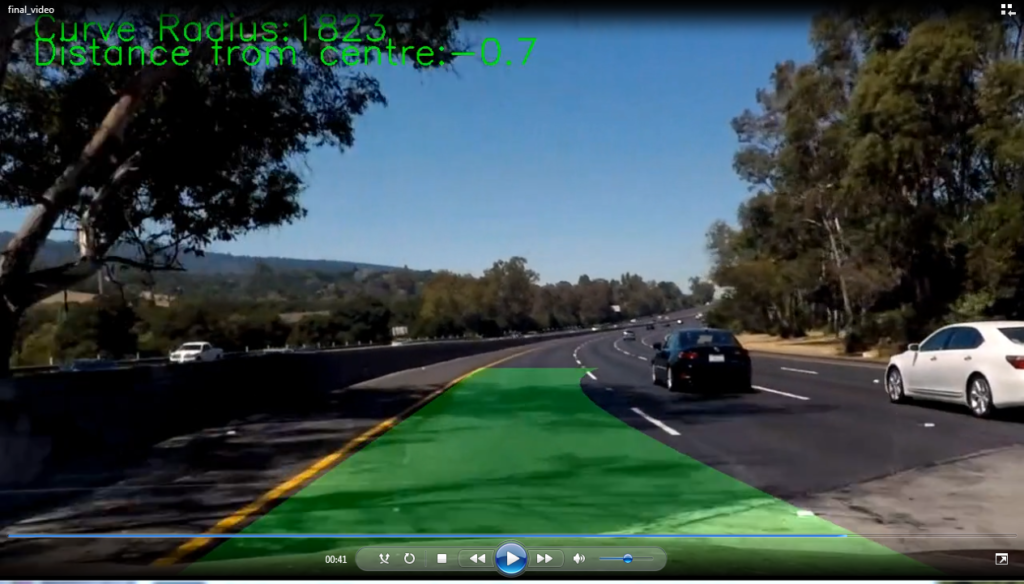
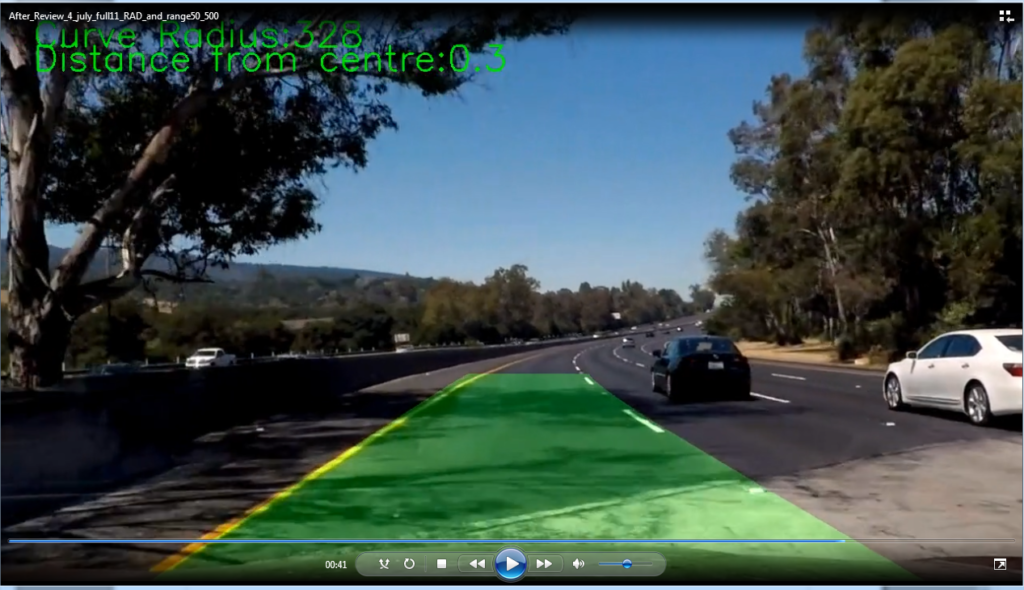
Sometimes the program was not able to detect lines reliably. With some work the times when this was true was reduced but it was not possible to get it perfect. Bear in mind that there are 15 frames per second in this video and not being able to detect lines in a frame may only last a fraction of second. In these cases it is acceptable and preferable to discard poorly detected lanes and draw in good lines from previous frames. Above left is an example of poor detection. This only lasts a fraction of a second but it is detectable by the human eye and slightly alarming as it blinks pasts. Above right is a line that is actually detected from the previous frame one 15th of a second earlier and superimposed on the next frame. It is possible if you look closely to see the green line is slightly off but the road does not change much in 1 / 15th of a second so it is acceptable. In this way we can momentarily compensate for loss of detection and generate usable results that are smooth and viewable.
Final Video

Functional Safety
Path Planning
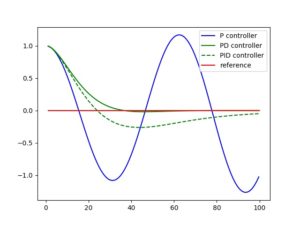
PID
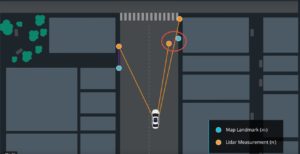
Particle Filter
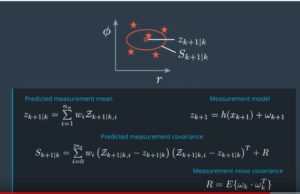
Unscented Kalman Filter
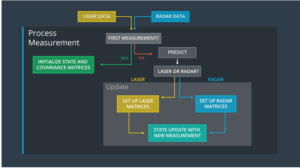
Kalman Filter

Vehicle Detection
Behavioral Cloning

Traffic Sign Classifier
